Last time, Ric Campbell checked the engine, clutch and gearbox and untangled the bike’s electrics. Now to fettle the fuel tank and find out if this scruffy old boxer will actually run…
Words and photos by Ric Campbell. Archive images RC RChive
The petrol tank was quite a challenge as it still had what once was petrol inside, was almost full in fact. The problem was the filler cap which appeared to be welded on. No amount of cajoling and persuasion made any difference. In the end the problem was solved by soaking with WD40 for several days, accompanied by what seemed hours of working the cap backwards and forwards.
Enjoy more RealClassic Magazine reading every month.
Click here to subscribe & save.
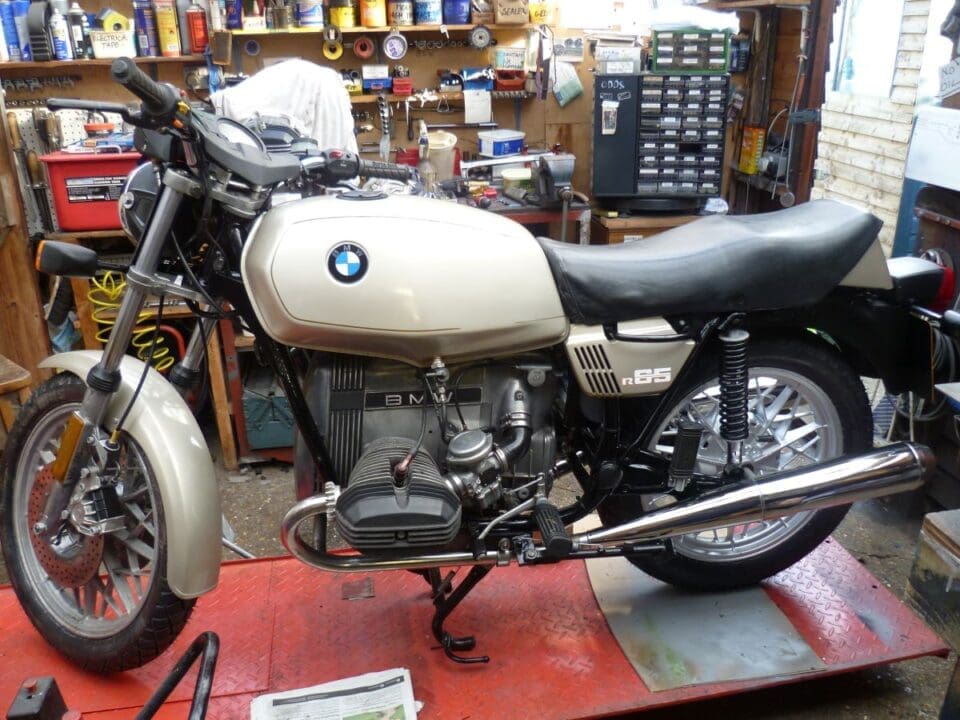
On draining the tank the contents were an odd shade of yellow, as if the tank had been used as a urinal. Strangely enough, apart from a layer of silt at the bottom, there was not a lot of rust. The paint job was, again, not cheap. It was finished in ‘silver beige’ metallic; a very nice colour, nice to look at and goes well with the black but the cost of a silly little spray can! I had to have a sit down.
Then of course there are the coach-lines to consider and the lacquer you need to get a shine on the matt finish. It’s all worth thinking about when considering one of these bikes as a project. The black paint was easy enough. Good old synthetic enamel so you can get a very nice finish. Perhaps not concours but plenty good enough for me.
The brakes were always going to be mess after all this time, although the rear drum just needed un-seizing. The front, twin discs, were not so easily addressed. This problem is of course familiar to most of us: seized callipers. Why is it that you can leave callipers on cars and lorries for years without problems? Not so with bikes, I have found. Some are worse than others, some Japanese ones seem to give up the ghost after a couple of months, no matter how carefully you re assemble them.
The callipers on the R65 were stuck solid. When I finally coaxed out the pistons, using the front master cylinder, they were so pitted with rust they were only fit for scrap. New ones were available but at an eye-watering price. The next time this happens I will turn new ones from stainless steel. This time, the brake rebuild all added up to a pretty penny with the cost of seals and hoses. You can make up the steel pipes yourself. Luckily the discs were serviceable.
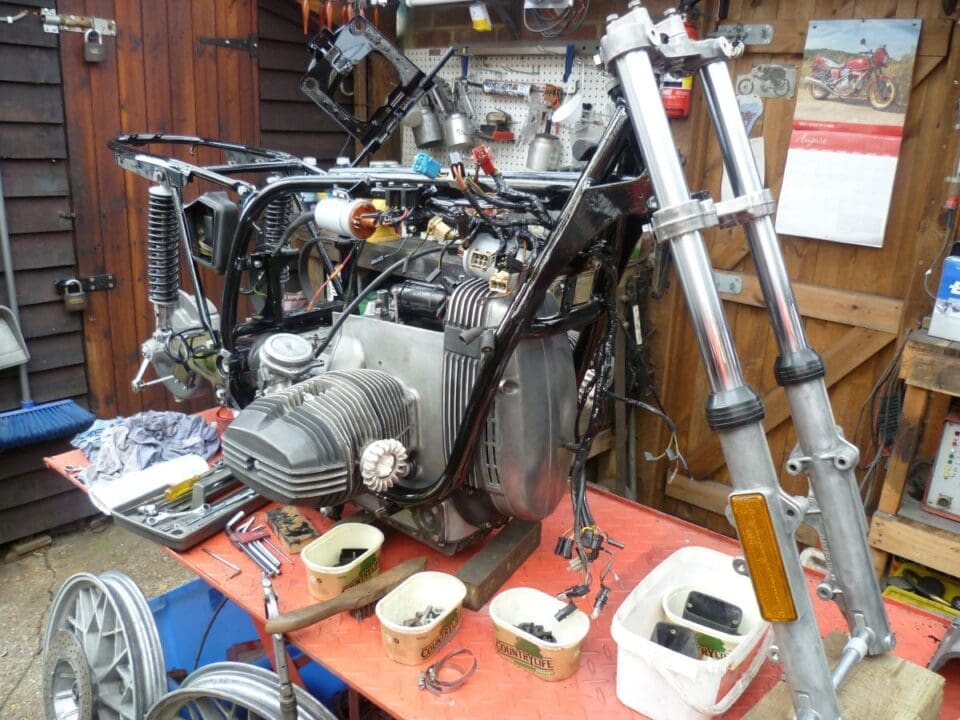
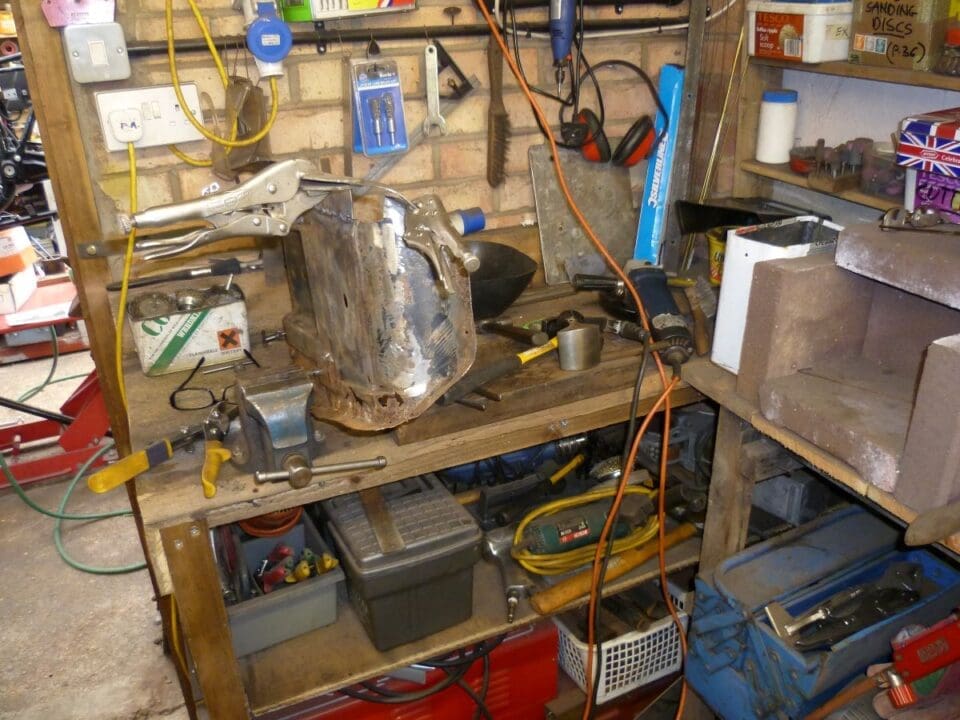
So that was about it, just new head races and swinging arm bearings, and a secondhand stainless exhaust off eBay. The only real let-down was the seat. These items on BMWs rot like you can’t believe. By now the spiralling cost prevented me purchasing a good secondhand one so I had to strip off the rotting cover. Then out came the welder and I spent a few happy hours playing ‘chase the theoretical weld pool. I confess that the end result is not a masterpiece, but it does the job.
The final challenge was when my good friend (the person who suggested I take on the rebuild in the first place) brought over a pair of tyres. They had the name Cheng Shin proudly displayed on the sidewall. Getting the old tyres off was straightforward enough and then, after cleaning up the wheels, I tried to fit the new ones.
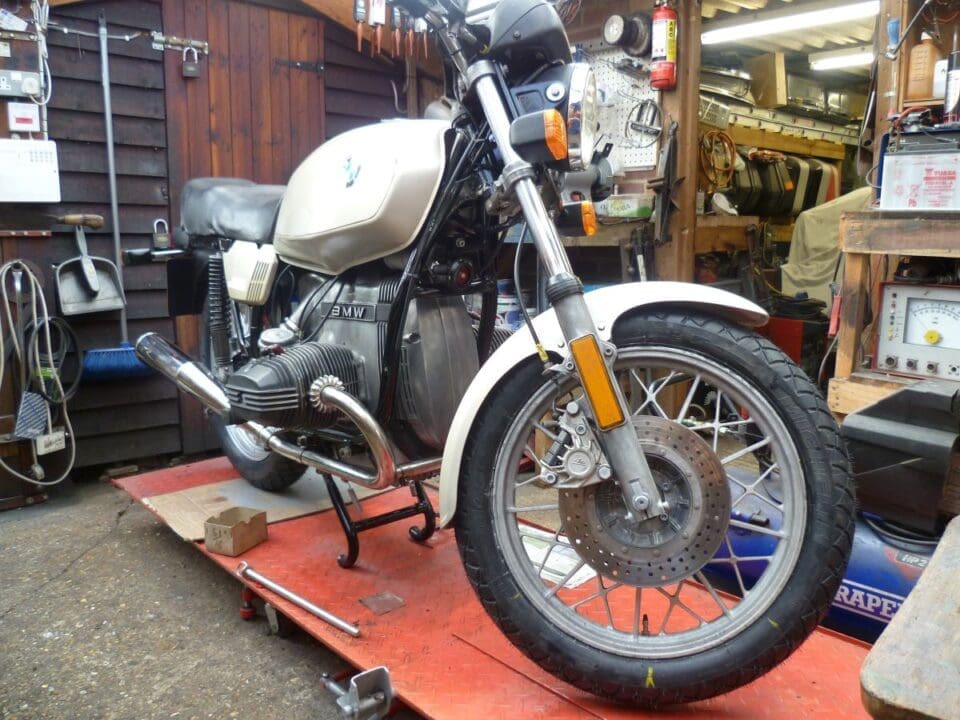
This is not a boast, but during my apprenticeship and for many years after until the advent of tyre companies, I have fitted hundreds and hundreds of tyres. All sorts, tyres on cars, lorries, tractors, combines; no end of the sodding things, but I never had the aggravation these Chinese beauties gave me, and I have no idea why. Even after struggling them on I could not for the life of me get the beads to seat.
The obvious thing I suppose is that the size was wrong; the man who gave me the tyres assured me the metric size on the tyre would be fine for my wheels. If anybody has come across this problem and found a solution please let us know what it is. Please believe me; I tried everything I could think of: loads of tyre lube, 60psi, warm up the tyres with a heat gun – even with all that the beads firmly refused to fit. In the end I bought a pair of Michelins which went on fine.
After all that effort, the final stage was an anticlimax. The engine started and ran after a bit of carb fiddling. Job done: the BMW was ready for a new owner. I believe it ended up being sold to someone who wanted to turn it into a café racer of all things. I can only guess what became of all my lovingly-restored tinwork!
Perhaps I should have kept the R65 but… I needed space on the bench for the R100RS which came next!
Have you got a tale to tell about your own classic motorcycle? Send us words and photos and you could claim your 15 minutes of fame!


