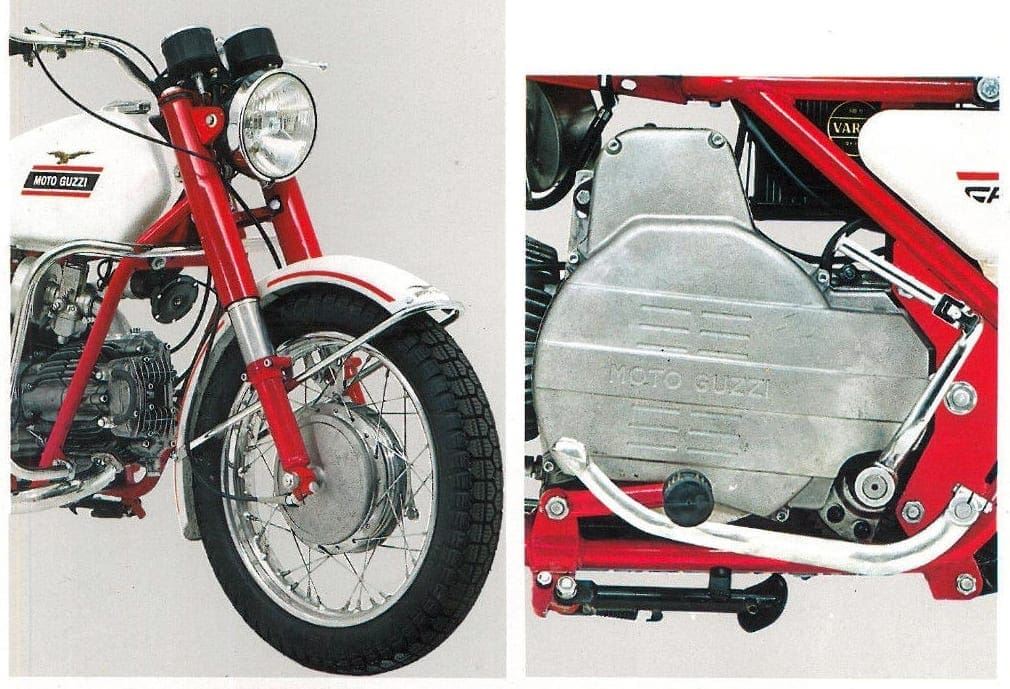
Paul Friday continues his quest to make his old banger sizzle. In this episode, your hero tries to find an ignition system to fit his single-cylinder Moto Guzzi Nuovo Falcone…

Electronic ignition systems are so common now that they are taken for granted. It’s a box with some wires that makes the plug fire. It either works or it doesn’t, and if it doesn’t then you have to throw it away and buy a new one. I thought when I started that there was just one type, but of course nothing could be that simple.
My engine has a 10-degree static advance, and the auto-advance adds 34-degrees to make a total of 44. It does this over the range of 1100 to 3000rpm. These figures set the constraints on finding a replacement – I want to match the existing advance curve before I can go off and tweak things. This was also the cause of all my troubles, as there are few modern engines that need this much advance, so there’s little chance of adapting an existing system. The average modern system seems to make 25-degrees advance; well short of what I needed, even if the rev range was right.
Electronic systems can put more power, more quickly through the coil than a conventional points system. Imagine letting go of a ball at the top of a hill – it rolls down and the energy it has when it reaches the bottom becomes the spark. An electronic system starts with a higher hill and gives the ball a push so it arrives at the bottom sooner. The result is a bigger spark. A side effect is that the spark occurs slightly sooner than with a points system, so electronic ignition systems have a little bit of built-in advance. My target of 34-degrees was closer, but still out of reach.
Alongside all this electrickery, I also had plans to improve the engine a bit. Adding a second spark plug is the usual way to start improving a hemispherical-head design. The standard plug is usually well over to one side, so adding a second one at the other side of the head makes a big improvement to the speed of burning of the mixture. Stories from other proud owners of my old relic told of taking nearly ten degrees off the total advance. If retarded is better (in the world of engines), then fitting a second plug may be the single biggest improvement. Taking ten degrees off the 34 I needed brought it into the range of an off-the-shelf system. It could have been so simple… but of course I couldn’t let it lie.
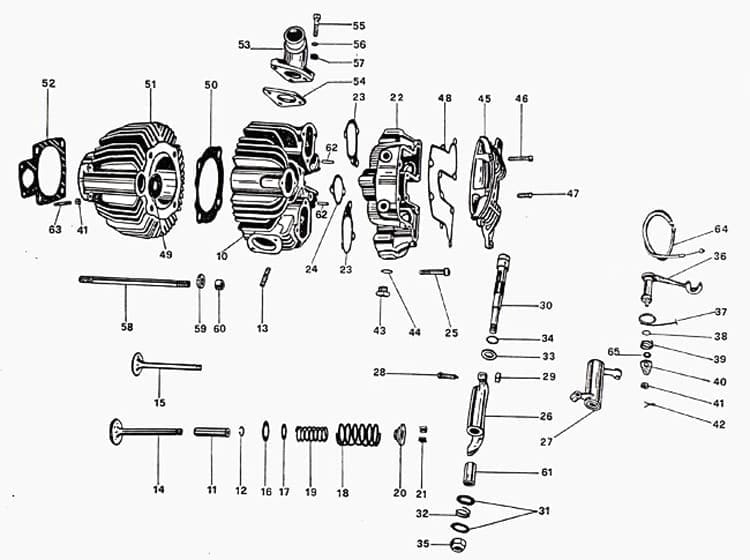
The reason was my Grand Plan for improvement. Besides twin-plugging the head, I wanted to change the valves for ones that weigh less than a pound each. I also wanted to change the shape of the combustion space, raising the compression and providing a bit of squish. It was very likely that this would change the required ignition timing again. What I needed was an electronic ignition system that would let me play with the advance curve. Notice that word ‘curve’ – not a straight-line bodge but a real curve, matched to the needs of the engine.
The standard advance curve (if the auto-advance was in good condition) is a straight line. The manual quotes a tolerance of +/- half a degree or 100 revs. I have a hunch that the clapped-out bobweights and springs get nowhere near this.
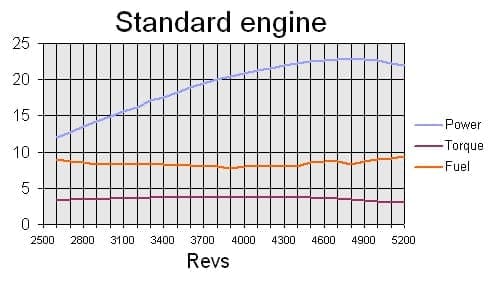
What I thought I might end up with is more like a curve, with a dip at peak torque. This is where the engine is burning most efficiently, so it shouldn’t need as much advance. The trick is to find what the engine tuners call MABT – minimum advance for best torque. It needs a dyno to find the proper advance curve, but the idea is to vary the ignition timing and find the best torque at each increment of engine speed. The resulting curve will be what the engine needs to work most efficiently.
I also thought I might retard the timing again at the top end, as a form of rev-limiter. 5500rpm on standard gearing would be 92mph, and well into the territory where she’ll na tack any moore, Cap’n. (This is an engine that only fires once a yard in top gear). I didn’t expect to hit the rev limiter on the road, but it might prevent a disaster if I ever fell off the bike. Missed gear changes are usually not a problem, as the flywheel mass of the engine means that it is slow to rev and easily caught before it explodes.
I knew what I wanted, but there is no such animal. So I went looking for ideas or bits I could use. What I thought would be a simple trip to the breaker’s became an odyssey of physics education. I also found that my dream of a programmable curve was within reach, but that I might have to set my sights a little lower to begin with. But I’m telling you the plot already!
I thought that I wanted a plain CDI module – a black box – that I could fire with something clever that would do all the advancing. The problem is that most CDI boxes also include the advance circuitry, and that CDI was out of favour anyway. I mentioned that electronic ignition uses a bigger hill and pushes the ball; well it seems the CDI hill is too steep and it pushes the ball too hard. CDI ignition works by charging a capacitor to high voltage, between three and four hundred volts instead of the twelve used by a points system. It then earths the capacitor to fire the coil.
The resulting spark is huge, but brief. It can mean that it sometimes fails to fire the mixture, particularly in eco-conscious engines running very lean mixtures. The very rapid voltage changes can also cause a problem called cross-fire, where the active spark plug lead induces voltages in the ones nearby. This was a problem in car engines, where the four plug leads are often held in plastic clips to run parallel across the cylinder head. All four plugs could fire together, which is not the best arrangement.
What the stylish bike or car is wearing these days is a fully mapped transistorised ignition system. This varies the spark according to an internal map of the best settings, that takes into account the temperature, altitude and your star sign. It will have variable spark duration and will manage the charging time (equivalent to the dwell angle on an old points system) to prevent the coil overheating at low speeds. Nice if you can get it, but way beyond the means or needs of an old banger. Thank goodness for the Australians, then.
After a bit of searching on the Internet, I found an Aussie electronics magazine called Silicon Chip. They had run several projects over the years for building your own electronic ignition. There were two projects that looked likely: the High Energy Ignition and the Multi-Spark CDI system.
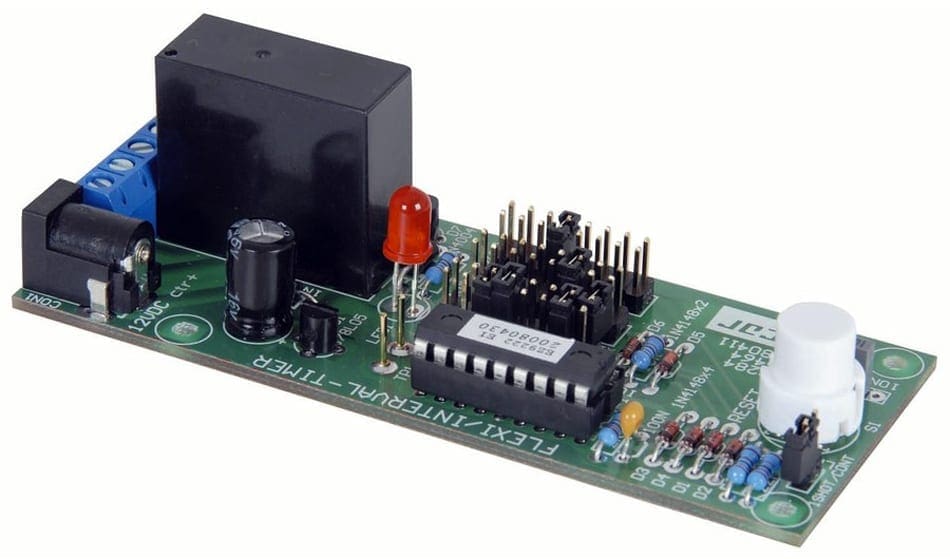
The multi-spark design cured the problem of short spark duration by firing the plug several times on each ignition, to give the effect of a much longer spark. The racing boys call this a shower system and curl their lips. What they want is just one big spark at exactly the right time. I thought that for road use, in an engine that has widely varying conditions, it might help a bit to have a longer spark. My theory was that even if the first spark didn’t light it off, the next one might. In a slow-revving single it’s a long time between bangs, so even a late one is better than none at all. Besides, the circuit design allowed the multiple sparks to be switched off if necessary.
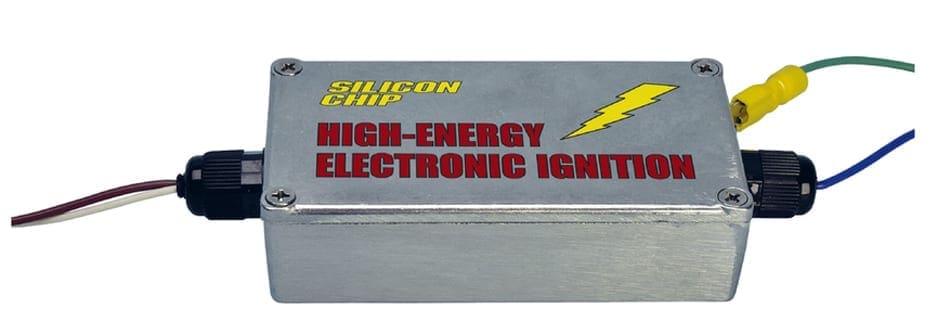
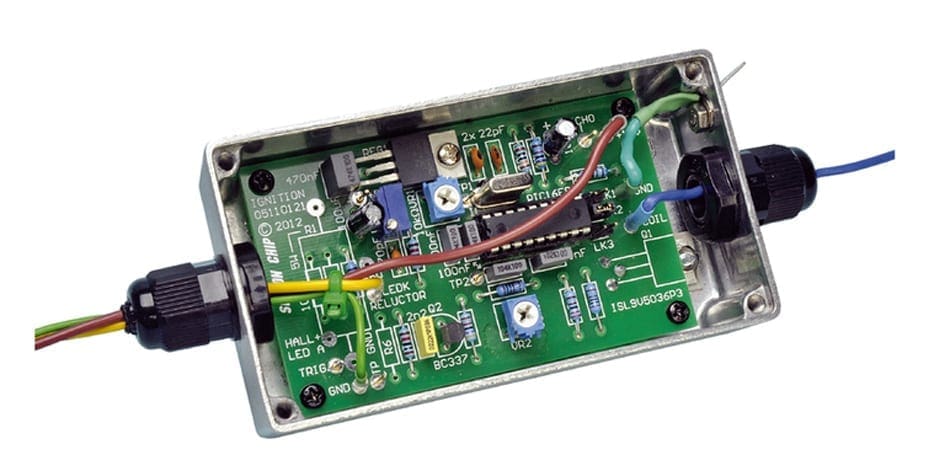
A big bad CDI could still cause cross-fire, but I only had the one plug lead to worry about. Even when I eventually twin-plugged the head, I actually wanted both plugs to fire together. The only caution would be to route the plug leads away from the frame or other bits of the wiring harness. The Silicon Chip magic box seemed to have everything I needed in a firelighter: it would keep the plug firing for up to 30-degrees of engine rotation, it would work on a nearly dead battery, and it could maintain a full power spark at any revs I was ever likely to see. They also offered a High-Energy Ignition design that was built to work directly with the a Programable Ignition Timing module. This might be just what I needed, even if it did only produce one spark at a time.
The programmable timing kit had a clever little chip that would accept its settings directly from a little keypad mounted on the circuit board. It offered nine basic parameters:
- The Programmable Ignition Timing Module
- Minimum RPM: Revs at which the advance curve begins. The unit is at full retard befoe this point.
- Mid RPM: Allows for a ‘kink’ in the advance curve
- Mid advance: Advance at the kink point
- Max RPM: Sets the rev limit. Above this point the unit will only fire alternate times.
- Max advance: Advance at maximum revs
- Dwell: The default for the unit is 1ms. This setting allows the manufacturers timing to be entered. If the engine revs do not allow the full dwell, it will be reduced to the minimum of 1ms.
- Vacuum advance: The degrees of advance to be given when the vacuum unit is triggered. This can be wired the other way to give a ‘retard on demand’, which can be useful as a form of traction control. With a bit more circuitry, it could also be connected to a knock sensor.
- Number of cylinders
- Security number: A security code to lock the timing module against being changed.
These mean you can play tunes with the ignition timing. The system will also hold two advance curves, and let you swap between them. In the car world this is supposed to be for dual-fuel vehicles. In the bike world I could see it allowing me to experiment with different settings, but always have the working version available to get me home. It would also let me have a ‘cruel joke’ program for security when I park the bike, perhaps fixed at full advance and with the rev limiter set to 1200rpm. I know they’ll just lift it into the van to steal it, but at least they’ll never get it to run.
I can see a use for the vacuum advance too. Wiring it up ‘in reverse’ would give me an on-demand instant retard of the ignition. This is hot news in the off-road world, where it gives the rider a ‘get out of mud free’ button. It’s also how the Formula One teams did traction control, after the rules told them to remove it. I’m not sure I’ll ever need it, but at least I have it as an option I could use later.
The facility to have a two-part advance curve may be useful to two-smoke riders, particularly racers. Because two-strokes are strange devices that defy logic, they can require the ignition to be retarded as the revs rise. So, for anyone perverse enough to ride such a machine, the tools are there.
So somewhere between these three devices is what I need, or as close to it as I’m likely to get. The only grit in my ointment was that these were kits, not products. The magazine articles dated from 1997 to 1999 – what chance did I have off finding the bits? Another fine pair of Australians came to my rescue. Dick Smith Electronics had a Multi-Spark CDI kit on the shelf, were only too happy to answer my questions by email, and posted it to me on the wave of a credit card. Jaycar Electronics did the same with the two-part programmable system.
So that was part one of the Grand Plan sorted. I would replace the worn-out points and centrifugal advance with a fully electronic system. Once I had got it sorted and working to my satisfaction, I would get the cylinder head modified. Then I could go out on the bypass and throw down the gauntlet to milk floats and cyclists.
I must insert a health warning just here – before you go and buy one of these kits, wait and read the next instalment. Things were not as straightforward as I hoped they would be…
——-
This feature originally appeared on the old RealClassic website. It’s been slightly updated with new illustrations to suit our current incarnation
Amazingly, some of the components Paul used are still available after all this time, like the high energy ignition kit from JayCar. There are of course many other modern CDI and programmable systems available…We’ve featured Guzzi’s Falcone several times in the magazine. So if you want to read more features about this motorcycle, you’ll find it in these issues:
All available as digital downloads or as print magazines delivered to your door
——–
Words: Paul Friday / Images: RC RChive


